Learn why the limit switch on the garage door fails, what to inspect, and how to fix it properly for smooth operation.
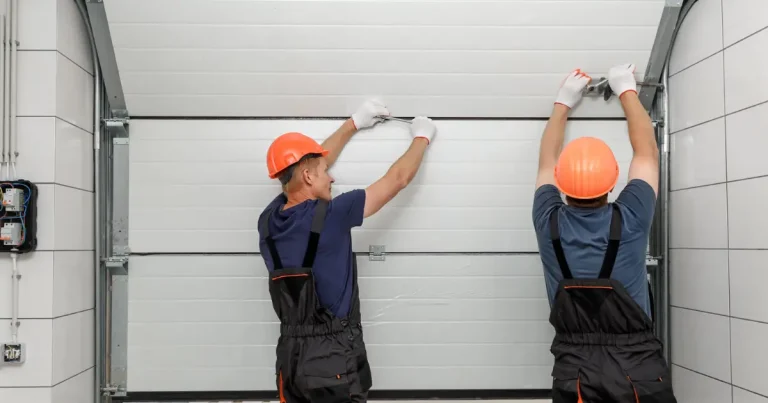
Is your garage door refusing to close completely, reversing unexpectedly, or running even after it hits the ground? These common and frustrating malfunctions are often linked to a single component: the limit switch on garage door systems. This switch is vital in telling your opener when to stop the door’s movement. When misaligned or worn out, it can cause erratic behavior that strains your opener and compromises safety.
At Garage Door Pros, we specialize in diagnosing and correcting these issues with precision and care. Whether your limit switch needs a simple adjustment or a complete replacement, our experienced technicians provide solutions that restore function and prevent long-term damage. Understanding how the limit switch on a garage door works can help homeowners recognize early warning signs and act before the problem worsens. Trust Garage Door Pros to keep your system running smoothly.
What Is a Limit Switch on a Garage Door?
The limit switch on garage door openers is a vital electrical component that tells the motor when to stop running. It defines the fully open and fully closed positions of your garage door. Without it, your door might slam into the floor, hover a few inches from closing, or keep running endlessly, burning out the motor.
Where Is the Limit Switch Located?
The limit switch is typically on the garage door opener’s motor unit. Most residential openers feature two adjustment screws or dials on the side or rear of the motor housing. These control the upward and downward travel limits. Some models use plastic sliders or tabs that move along a track to signal open and closed limits.
Identifying your model’s switch is the first step before any inspection or repair. If you are unsure, Garage Door Pros can help you locate and assess the component safely.
Common Symptoms of a Faulty Limit Switch
A malfunctioning limit switch on garage door openers can cause various performance issues. Here are the most common symptoms:
- The door won’t close completely
- The door reverses immediately after touching the floor
- The motor keeps running even after the door stops
- The door opens or closes too far, hitting stops or straining the mechanism
How These Issues Affect the Entire System
When left uncorrected, these problems can cause:
- Premature motor wear due to excessive runtime
- Physical damage to the garage door panels or guide tracks
- Gaps that compromise security or insulation
Over time, a simple calibration issue can lead to major repairs if not addressed promptly by a professional like Garage Door Pros.
What Causes Limit Switch Problems?
Several factors can interfere with the correct function of the limit switch. Here are the most common causes:
- Loose or misaligned adjustment screws
- Internal wear or corroded contact points
- Debris blocking the mechanism
- Power surges or wiring faults affecting switch performance
Understanding the root cause is key to determining whether an adjustment or full replacement is needed. Garage Door Pros always begins with a thorough diagnostic before recommending a fix.
How to Adjust the Limit Switch on a Garage Door

In some cases, a simple adjustment can restore proper function. Here’s how to adjust the limit switch on garage door openers:
Unplug the Opener
Unplug the garage door opener from its power source, or shut off the circuit breaker that controls it. This ensures your safety and prevents accidental activation while performing manual adjustments.
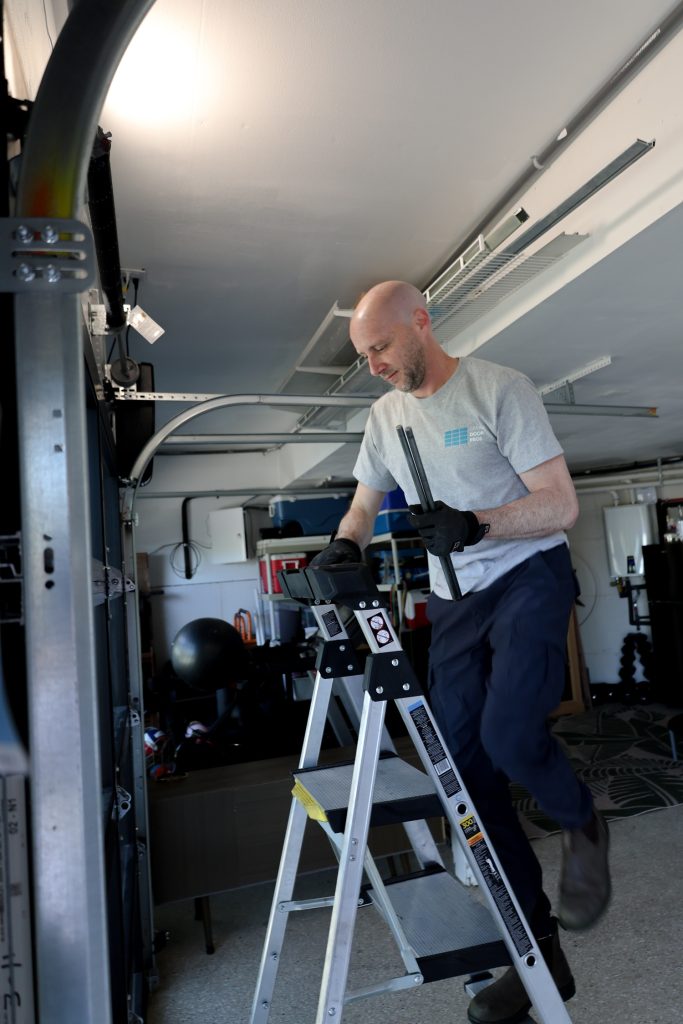
Use a Ladder
Set a stable ladder to safely reach the garage door opener’s motor housing. Always position the ladder on a level surface and have someone nearby if additional assistance is needed.
Locate the Adjustment Dials or Screws
Identify the adjustment dials or screws on the opener, typically labeled “up” and “down.” These controls allow you to fine-tune how far your door travels when opening or closing.
Turn the Appropriate Screw
Using a screwdriver, make minor adjustments to the dials or screws. Turn clockwise to decrease travel distance, or counterclockwise to increase it. Never force the screw, gentle increments are key.
Test the Door
Operate the garage door manually to check the new settings. Open and close it fully to confirm that the travel limits are functioning correctly before reconnecting it to power.
Reconnect Power
Once adjustments are complete and the door moves correctly, plug the opener back in or flip the breaker on. Run a full open/close cycle to ensure smooth and safe operation.
If problems persist, don’t force it. Over-adjusting can strain the system.
Why Professional Calibration Is Safer
Even minor missteps during adjustment can cause bigger issues. Professional calibration:
- Prevents over-travel or excessive force on the door.
- Ensures precise alignment with the motor and track.
- Includes safety checks and testing for full functionality.
That’s why Garage Door Pros offers limit switch calibration as part of our routine service calls.
When to Repair vs Replace the Limit Switch
Not every limit switch issue requires complete replacement. Here’s how to decide:
- Repair/Adjust: When the switch responds to calibration and the motor stops correctly.
- Replace: When the switch fails to engage, shows visible damage, or has worn electrical contacts.
Garage Door Pros always prioritizes repair when safe and effective, but offers fast replacement options when needed to ensure long-term reliability.
The Importance of Routine Maintenance and Inspections
Your garage door system works hard every day. Preventative care ensures it works safely and consistently. Limit switches should be part of your regular garage door tune-up.
How Long Does a Limit Switch Last?
On average, a limit switch on garage door systems lasts about 10–15 years, depending on usage. Signs of aging include:
- Inconsistent stopping points
- Increased motor noise
- Delayed or erratic door response
Regular inspections from Garage Door Pros can catch these signs early, extending the life of your entire opener.
FAQ: Limit Switch on Garage Door
How do I reset my garage door limit switch?
First, unplug the opener for safety to reset your garage door limit switch. Then, locate the limit adjustment screws—typically found on the motor housing. Use a flathead screwdriver to turn the screws slightly to increase or decrease travel distance. Plug the opener back in and test the door’s operation.
Where is the garage door limit switch located?
The garage door limit switch is usually located on the opener motor unit, near the adjustment screws or dials. It’s commonly found on the rear or side panel of the opener. This switch controls how far the door travels during opening and closing, ensuring it stops at the correct position.
How to adjust the limit switch?
To adjust the limit switch, use a screwdriver to turn the “up” or “down” limit screws on the opener unit. Turning the screw clockwise typically shortens the travel distance, while counterclockwise increases it. Make minor adjustments and test the door each time until it opens and closes fully without issues.
What is the purpose of a limit switch on a door?
A garage door limit switch ensures the door opens and closes to the correct height. It prevents the door from slamming shut or rising too high, protecting the door, motor, and surroundings. Proper limit switch settings also improve safety and prolong the lifespan of your garage door system.
How does a garage door limit switch work?
A garage door limit switch signals the motor to stop when the door reaches a pre-set open or closed position. It uses electrical contacts that engage when the door reaches its limit. This mechanism helps control door travel and prevents overextension or incomplete closure during operation.
Conclusion
A properly working limit switch on garage door systems ensures safe, consistent performance every day. When this small component fails, it can lead to doors that overextend, stop short, or stress the motor. Spotting the signs early allows homeowners to avoid costly repairs and keeps their garage running as it should.
If your garage door won’t close all the way, reopens unexpectedly, or keeps running after it stops, don’t ignore it. These are common signs of a misaligned or worn limit switch on garage door systems. Contact the trusted professionals at Garage Door Pros to inspect, adjust, or replace the switch and restore your door’s reliability.
End Note
Garage Door Pros is your trusted local partner for diagnosing and fixing all issues related to the limit switch on garage door systems and beyond. Whether your door reverses unexpectedly, won’t close properly, or keeps running after it should stop, our expert technicians are ready to help. Learn more about our values, service approach, and dedication to customer satisfaction by visiting our About page. We make garage door repairs smooth, straightforward, and stress-free for homeowners across the region.Explore the full range of solutions Garage Door Pros offers at garagedoorproswa.com, from LiftMaster opener support to stylish Amarr door collections. Ready to book an inspection or have questions about a specific issue? Check out our complete list of garage door services or connect with us directly via our official Facebook page. Wherever you are in your garage door journey, we’re here to make every lift, close, and click reliable again.
Garage Door Pros
Kirkland, WA 98034
+14252005902